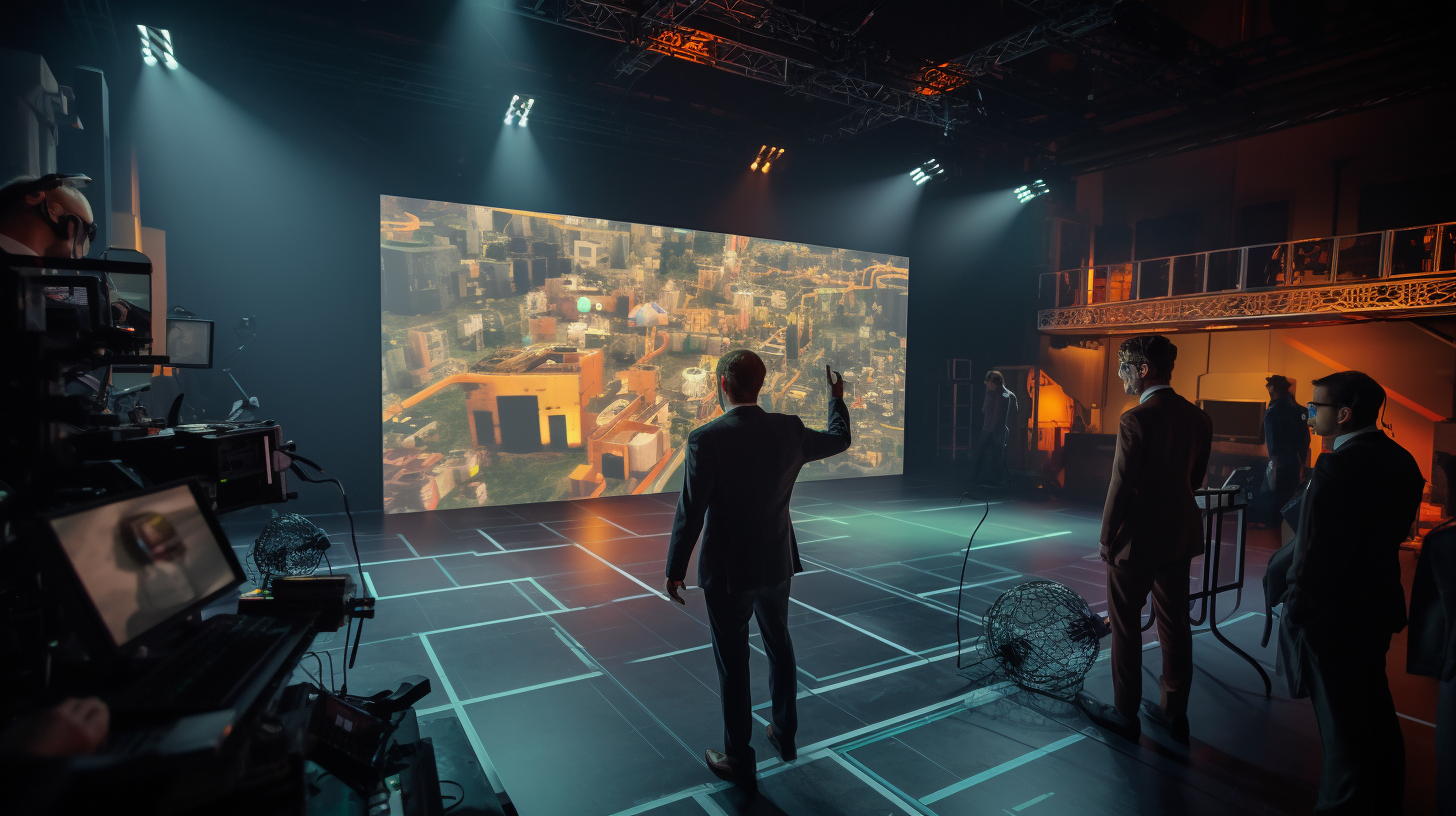
Are you looking to take your photography or videography to the next level? One of the most important aspects of creating visually stunning images is mastering lighting techniques that can add depth and dimension to your work. By understanding how to manipulate light and shadow, you can create a dynamic and immersive visual experience for your audience.
In this article, you will learn about various lighting techniques that can help you create depth in your work. From the classic three-point lighting setup to experimenting with different light sources, we will cover everything you need to know to take your lighting skills to the next level.
By the end of this article, you will have a solid understanding of how to use light to add depth and dimension to your work, no matter what type of photography or videography you specialize in.
Understanding Light and Shadow
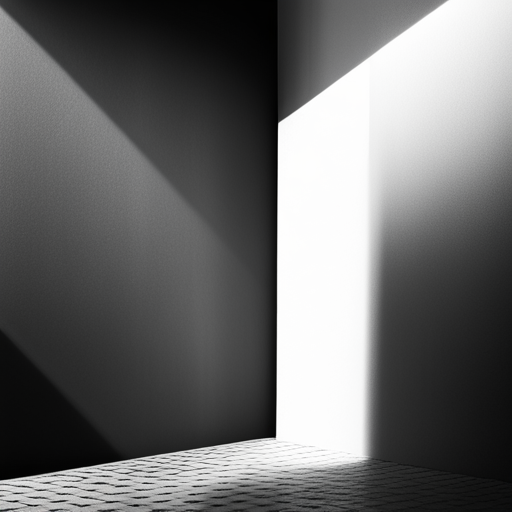
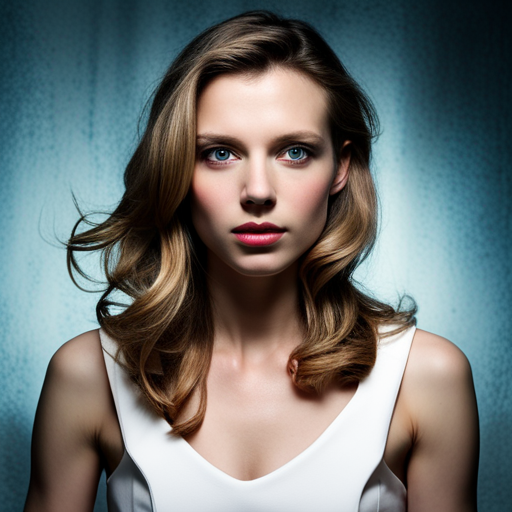
Understanding light and shadow is crucial in creating depth in your artwork. Did you know that studies have shown using proper lighting can improve mood and productivity in a space by up to 80%? Mastering chiaroscuro, or the use of light and dark, is essential in creating a sense of depth in your artwork.
By understanding how light interacts with objects and the environment, you can create a realistic and dimensional image. One key aspect of using light to create depth is understanding highlights. Highlights are the areas of an object that are directly hit by the light source, and they provide contrast and depth to the rest of the image.
By carefully placing highlights in your artwork, you can create a sense of volume and form, making your objects look more three-dimensional. Overall, mastering light and shadow is essential in creating depth in your artwork. By understanding chiaroscuro and highlights, you can create a realistic and dimensional image that draws the viewer in.
So, the next time you’re working on a piece, take some time to consider how you can use lighting techniques to add depth and interest to your work.
The Three-Point Lighting Technique
Let’s explore how we can use three-point lighting to add dimension and visual interest to our subjects. This technique utilizes three lights: a key light, a fill light, and a backlight.
The key light is the main source of light and is placed at a 45-degree angle to the subject. The fill light is placed at the opposite angle of the key light, and its purpose is to fill in the shadows created by the key light. The backlight is placed behind the subject and adds depth by separating the subject from the background.
Mastering shadows is crucial when using the three-point lighting technique. The key light is responsible for casting shadows on the subject, which can be adjusted by moving the light source closer or farther away. The fill light is used to soften the shadows and create a more natural look. The backlight can also cast shadows, which can be used to create interesting patterns on the background.
Adjusting light intensity is another important aspect of the three-point lighting technique. The key light should be the brightest, followed by the fill light, and the backlight should be the least intense. This creates a natural look and avoids overexposing the subject or the background. By adjusting the intensity of each light, you can also create different moods and atmospheres, from dramatic to romantic.
By using the three-point lighting technique, you can add depth and dimension to your subjects, making them more visually interesting. Mastering shadows and adjusting light intensity are key aspects of this technique, and by carefully manipulating the lights, you can create different moods and atmospheres.
So, next time you’re setting up your lights, try using the three-point lighting technique and see the difference it makes.
Using Natural Light to Your Advantage
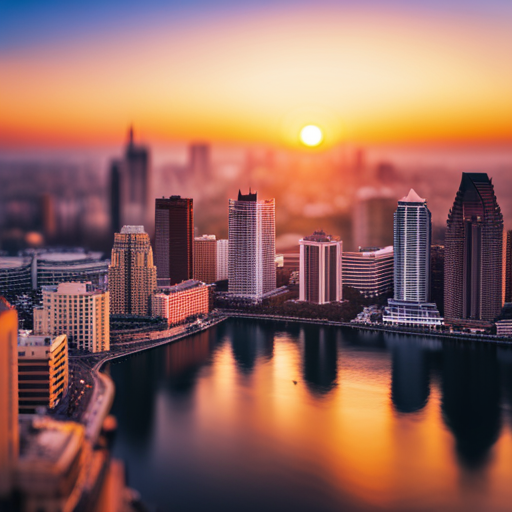
You can really make your subject pop by harnessing the power of natural light. As a photographer, you must know the ‘golden hour’ photography. This is the time when the sun is low in the sky, usually during sunrise or sunset.
During this time, the light is diffused and creates a warm, golden glow that can really enhance your subject and add depth to your photos.
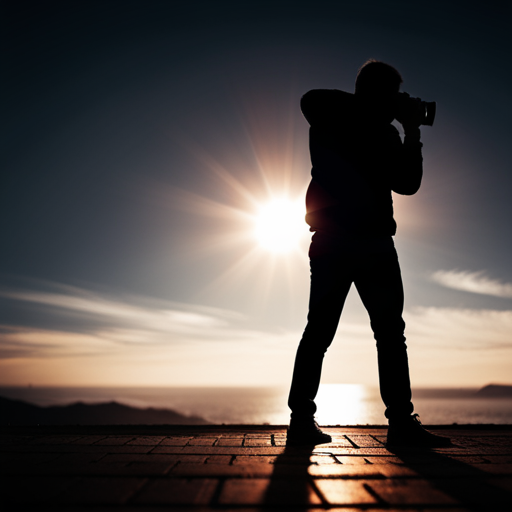
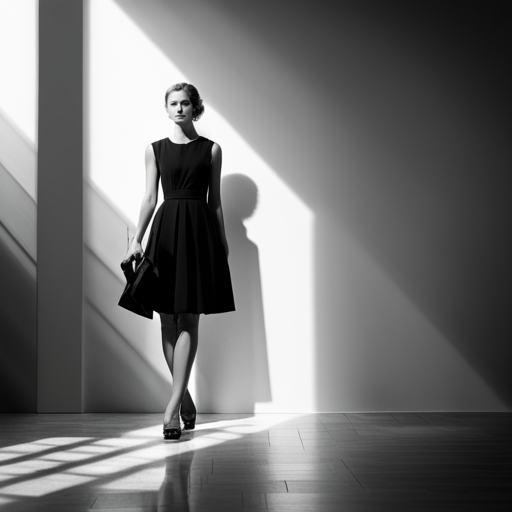
Another way to use natural light to your advantage is by manipulating shadows. You can use shadows to create depth and add interest to your photos. For example, if you’re shooting a portrait, you can use the shadows to create a more dramatic effect.
You can position your subject so that the light falls on one side of their face, creating a shadow on the other side. This will draw attention to their eyes and create a more dynamic image.
In conclusion, natural light is a powerful tool that can really enhance your photos. By knowing when to shoot during the ‘golden hour’ and how to manipulate shadows, you can create images that have depth and interest. So, the next time you’re out shooting, pay attention to the natural light around you and use it to your advantage.
Playing with Contrast and Color
Now, let’s see how playing with contrast and color can add a wow factor to your photographs. When you’re working with light, it’s important to understand color temperature and light intensity. Color temperature refers to the warmth or coolness of light, while light intensity refers to the brightness of the light.
By adjusting these two elements, you can create a mood or tone in your photos that enhances the overall feel of the image.
Light direction and light placement are also crucial factors when it comes to playing with contrast and color. If you want to create depth and dimension in your photos, try placing your subject in front of a light source and experiment with different angles.
You can also use shadows to your advantage by placing your subject in front of a contrasting background or using a reflector to bounce light onto specific areas of the subject.
By playing with contrast and color, you can transform an ordinary photo into a work of art. Whether you’re using natural light or artificial light, the key is to experiment and have fun.
Don’t be afraid to try new things and push the boundaries of what you think is possible. With a little bit of practice and experimentation, you’ll be able to create stunning photos that capture the beauty of the world around you.
Experimenting with Different Light Sources

As you’re exploring different light sources, don’t forget to embrace the power of experimentation and have fun with it! Don’t be afraid to try out various lighting equipment to see what works best for your desired effect. You can easily find affordable lighting equipment in the market that can help you create depth in your photos or videos.
You can also experiment with DIY lighting solutions. Playing around with different materials, such as aluminum foil or white sheets, can help you manipulate light to create unique effects. By using reflectors or diffusers, you can control the shadows and highlights, adding depth to your subject.
When experimenting with different light sources, it’s important to remember that lighting can make or break your photo or video. So take the time to experiment and find what works best for you. With a little creativity and the right lighting techniques, you can create stunning visuals that captivate your audience.
Frequently Asked Questions
What equipment is needed for advanced lighting techniques?
To achieve advanced lighting techniques, you’ll need a variety of lighting equipment such as strobe lights, reflectors, diffusers, and light modifiers. These tools will help you manipulate the light to create dynamic and visually appealing images.
How can lighting techniques be used to convey different emotions?
“Light up the mood with your photos by using light to convey emotions. Lighting techniques like color temperature, shadows, and contrast can help set a specific tone. Experiment and express yourself!” ‘Whether you want to create a moody and dramatic atmosphere, or capture a bright and joyful moment, the right use of light can make all the difference in your photography.’
What are some common mistakes to avoid when using lighting for depth?
Common mistakes to avoid when using lighting for depth include poor lighting placement, using too much or too little light, and failing to consider the impact of shadows. Be mindful of these factors for a successful result.
How can lighting be used to create depth in outdoor photography?
To create depth in outdoor photography, use shadows to add contrast and manipulate natural light to emphasize subject placement. This will create a sense of dimensionality and draw the viewer’s eye into the frame.
What are some tips for using lighting to highlight specific elements in a scene?
To highlight specific elements in a scene, adjust lighting angles to accentuate the desired subject. Additionally, consider color temperature to create contrast and draw attention. These techniques can add depth and dimension to your composition.